


Welcome back to this series on making physical objects come to life on HoloLens with Vuforia. Now that we've set up Vuforia and readied our ImageTarget and camera system, we can see our work come to life. Because in the end, is that not one of the main driving forces when developing—that Frankenstein-like sensation of bringing something to life that was not there before?
In this last tutorial of the series, we will use our Target database with an ImageTarget prefab to create what we need to make this work, and then we will add a bit of flare to see it in action. I went with a particle systems effect in this example, but it could be pretty much anything you want.
Set Up Your ImageTarget Prefab
In the Project window, go to the Assets -> Vuforia -> Scripts directory, then drag the "ImageTarget" prefab into the Hierarchy window above. With it selected in the Hierarchy window, make sure its position is 0,0,0 in the Inspector window.

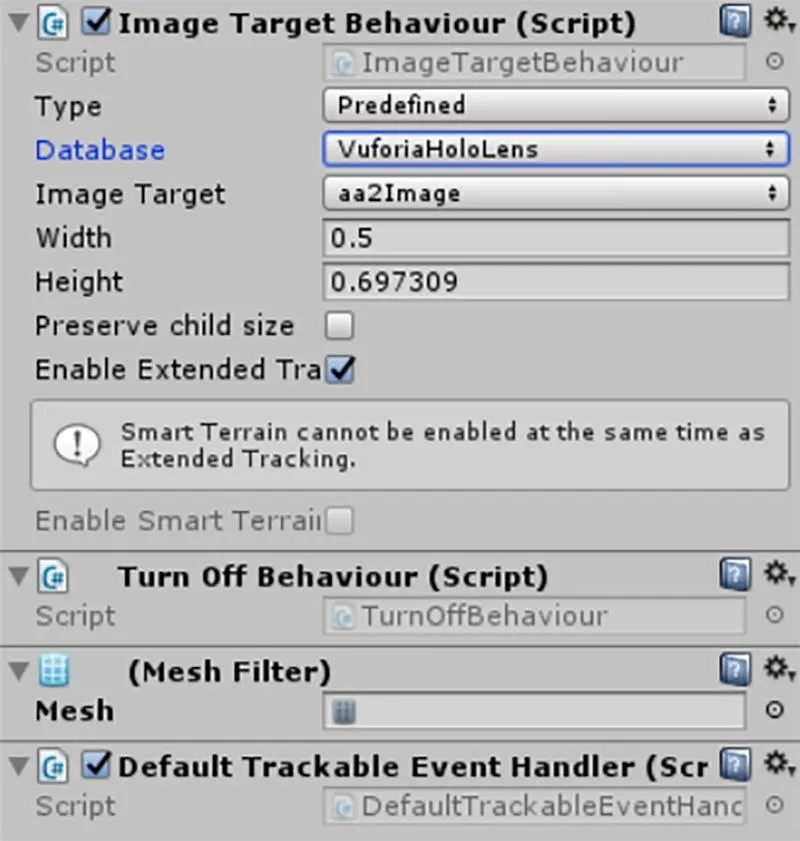
Looking at the Image Target Behaviour component, make sure that Type is "Predefined" from the dropdown. Then select "VuforiaHoloLens" (or whatever you named it) from the Database dropdown.
Make sure the image name you used when you created the database is selected in the Image Target dropdown, and type "0.5" into the Width box. Height will be automatically calculated. Finally, check the box next to Enable Extended Tracking.
If you are working on your own Vuforia project and have multiple ImageTargets, I highly recommend renaming your ImageTarget and then dragging it out as its own prefab. This will alleviate many future headaches.
Adjust Image Texture Settings
For some reason, the database has been creating "Single Channel" textures, which do not seem to work for me. To get this to work, I have had to go in and change these textures to 2D textures, and you'll probably need to do the same.
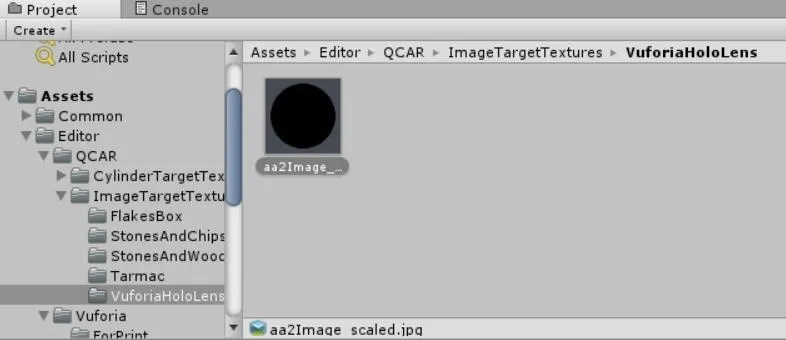
In the Project window, drill down to Assets -> Editor -> QCAR -> ImageTargetTextures -> VuforiaHoloLens (or whatever you called it). You should see a black circle with the name of your image under it—select it.
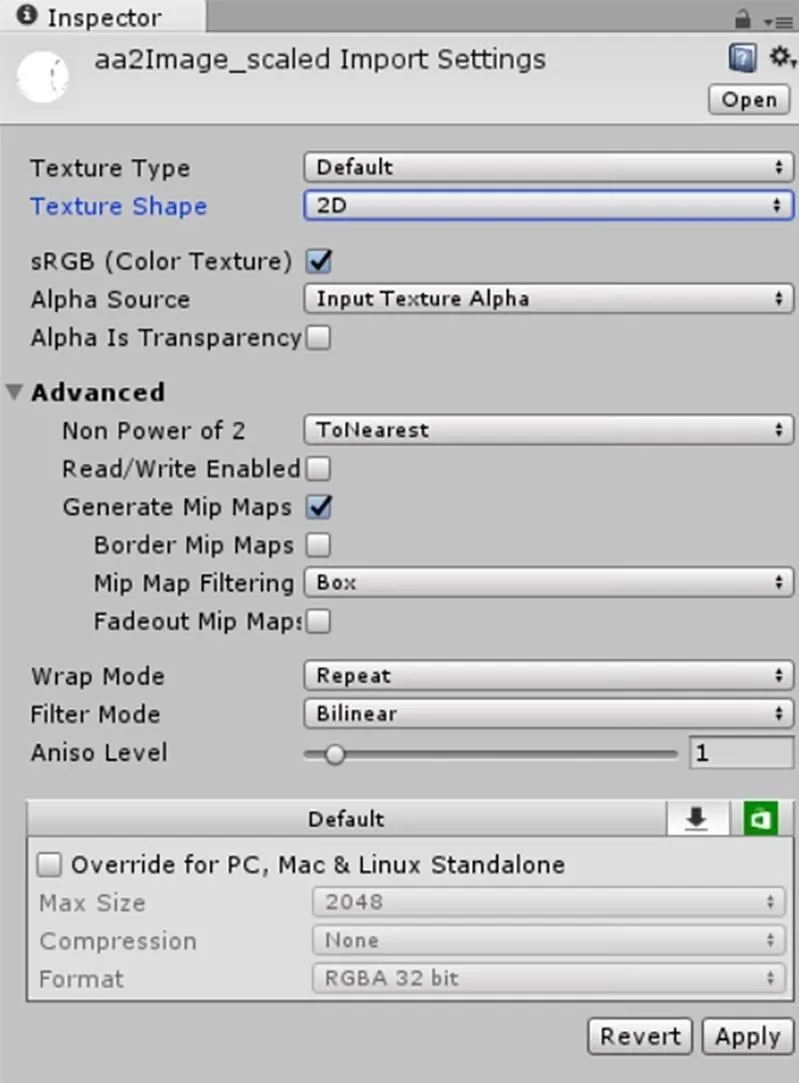
In the Inspector, change the Texture Type from "Single Channel" to "Default," then make sure the Texture Shape is 2D and hit "Apply."
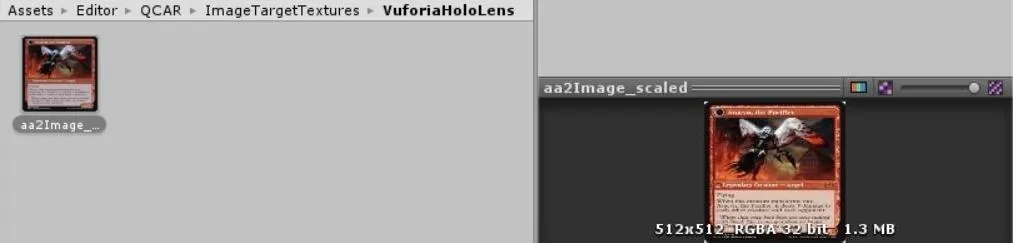
If everything went okay, this is what it should look like:
Add a Little Flare to Your ImageTarget
Instead of doing something boring, like making a teapot or a cube, to display with our ImageTarget, let's do something a bit more fun—let's add some particle systems. Unity has been doing a great job of updating the engine to find more efficiencies in their system, and the Particle System got a major overhaul recently in this regard.
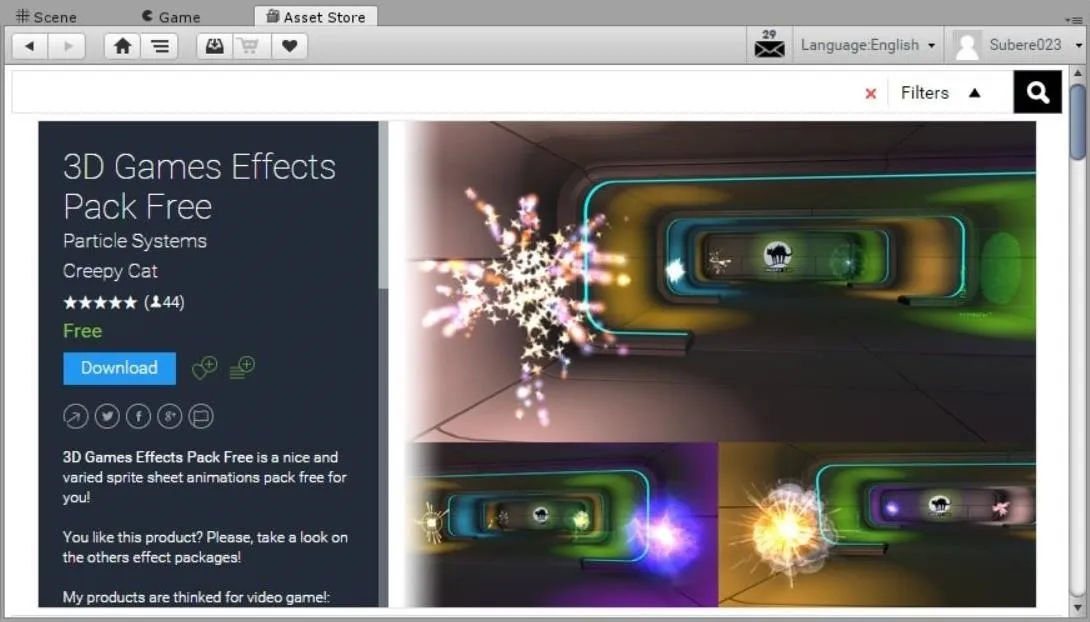
Pull up the Asset Store and do a search for "particle system" to find the 3D Games Effects Pack Free option, which is a great choice for our project.
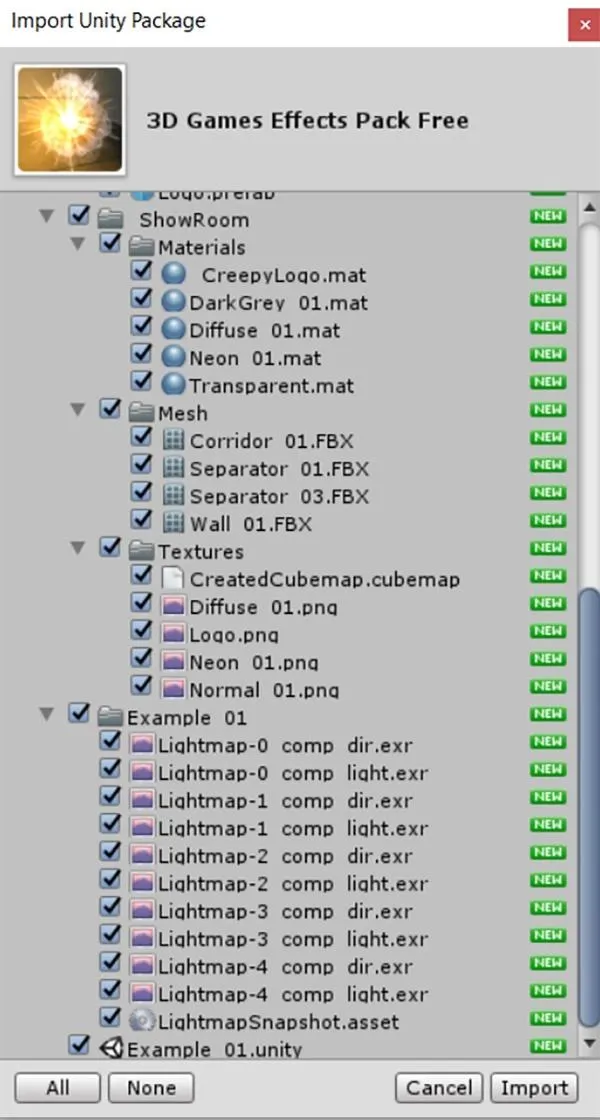
Download and import it just like we did with the Vuforia AR Starter Kitin a previous lesson.
Now, in the Project window, drill down into the Assets -> Creepy_Cat -> Prefabs directory.
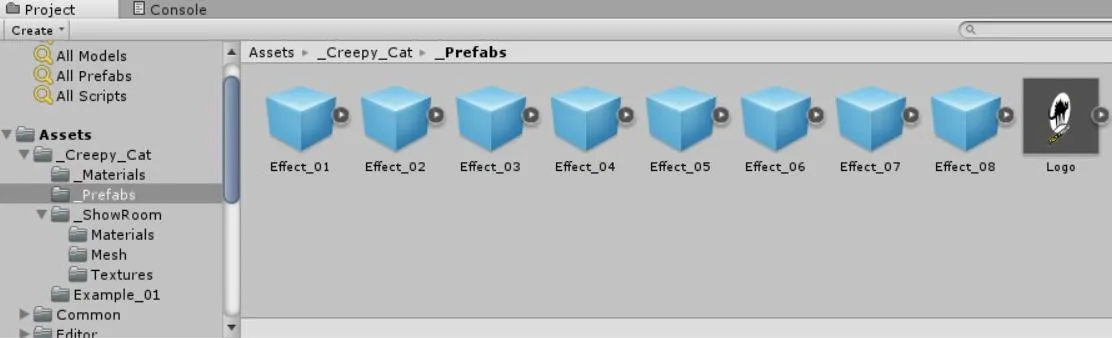
Then drag the "Effect_02" and "Effect_06" prefabs into the Hierarchy window.

Now position the particle systems to your liking above or around the ImageTarget. You can see that I positioned mine right above the image.

In the Hierarchy window, create an empty game object and name it something relevant. In my case, I named it AvaObject, since it's a card of Avacyn. Next, drag the particle system objects to this empty object; The child objects attached to the ImageTarget object is what will be overlaid when its image is recognized by the system.
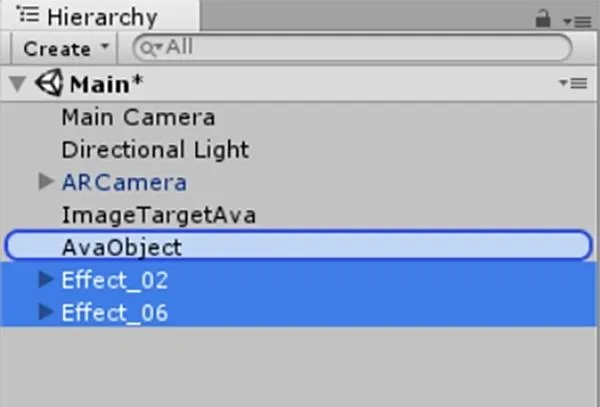
Select your "AvaObject" (or whatever you called it) and drag it up to your ImageTargetAva equivalent.
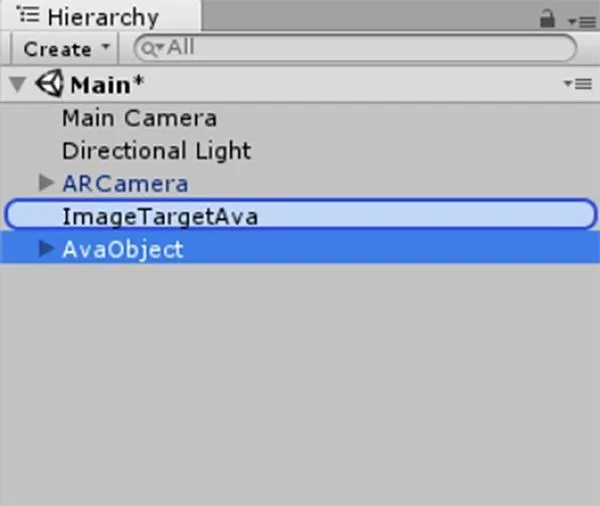
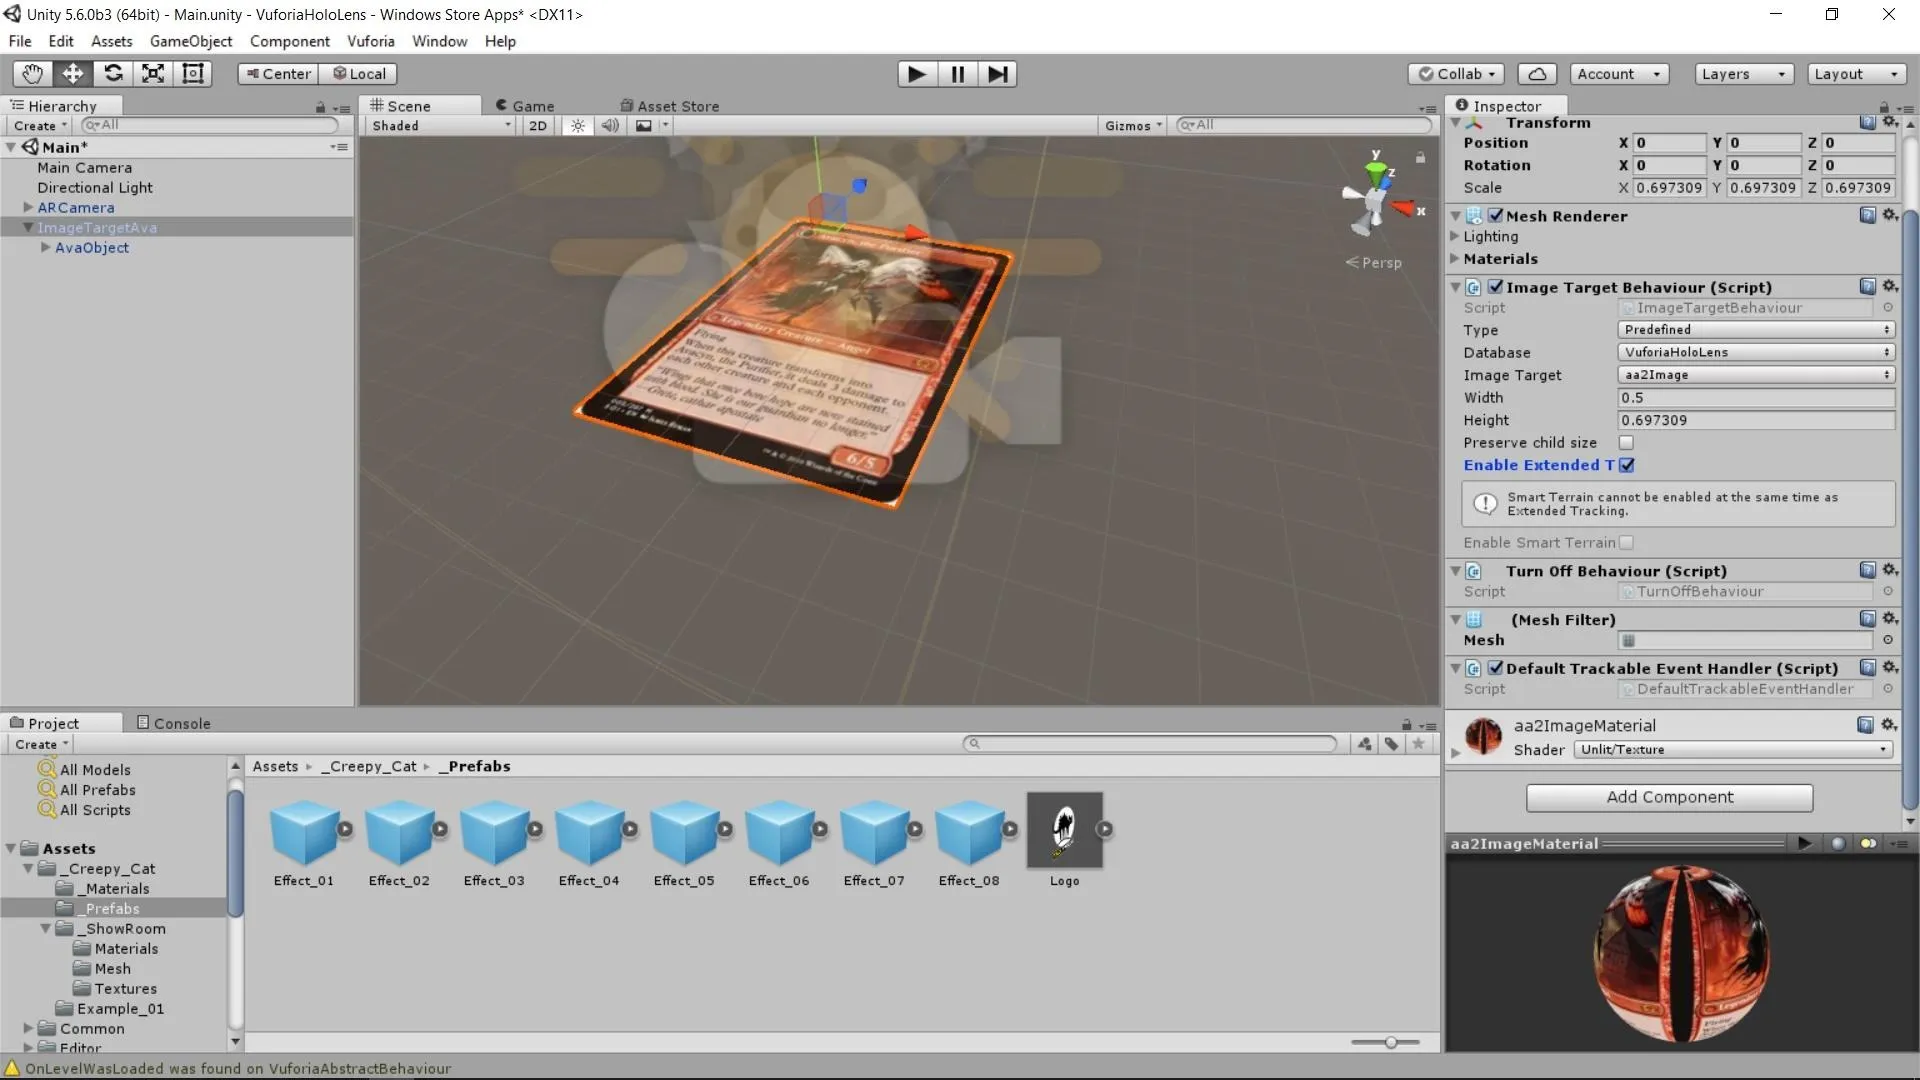
That is the final step, and your Unity Editor should look something like this:
Now build, compile, and deploy as usual.
Enjoy Your Work
This is what it looked like running on my HoloLens. Fallen angels and explosions.
I will have to admit, there is one issue with having used particle systems here. Typically, particles are made up of collections of small 2D images that are always parallel to the camera. This is a technique called billboarding. As a result, there is no way for us to see the particle systems rotating in sync with our trading card.
Well, congratulations on making it to the other side of the journey. It was long and arduous. There were definitely a few scary turns, but hopefully, it was informative and satisfying. And now you know how to use Vuforia to create effects for things you see in your HoloLens around a room.
- Follow NextReality on Facebook, Twitter, and YouTube
- Follow WonderHowTo on Facebook, Twitter, Pinterest, and Google+
Cover image and screenshots by Jason Odom/NextReality


Comments
Be the first, drop a comment!