Microsoft's HoloLens comes with helpful features for capturing video and photos, but sharing whatever you record isn't as straightforward as you might expect. So here are the many ways to get your media off the device to share with the world.
Step 1: Take a Picture or Record a Video
Take photos and videos with the HoloLens doesn't require a whole lot of effort. Here are the ways you can do it:
- You can press the volume up and down buttons simultaneously to quickly snap a picture.
- If you have the Windows 10 HoloLens app installed on your computer, you can control recordings from it directly.
- You can also ask Cortana to do the heaving lifting by speaking "Hey Cortana, take a photo," or "Hey Cortana, record a video."
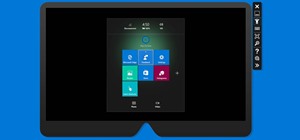
- You can also use the bloom gesture to bring up the Start menu and choose the photo or video option as well.
Generally speaking, Cortana is most convenient for video capture and the volume buttons for photos. That said, certain circumstances require different methods. If you want to record a video and need to use the bloom gesture, for example, you generally have to initiate the process using a computer as the bloom gesture will stop the recording otherwise. With some experience, you'll figure out which methods you prefer to use for various situations.
Step 2: Share Your Media
Once you have something to share, how you get it out into the world varies quite a bit and depends on its final destination. If you want to share to Facebook and Twitter, for example, you can do that easily through the Photos app. If you want to send an email or post elsewhere, however, you won't have such an easy time. The video below will walk you through both options in detail.
Facebook, Twitter & YouTube
For sharing on Facebook, Twitter, and YouTube (for videos only, of course), you needn't look further than the Photos app included with the HoloLens. Just follow these steps to share:
- Open the Photos app.
- Wait for your media to load and air tap on the one you want. You may have to air tap and hold to scroll through your photos and videos if you have many.
- Once your photo or video loads up, air tap on the share button.
- Choose Facebook or Twitter for photos (or Facebook or YouTube for videos), type a message, and hit share. (Note: if you haven't already, you'll be asked to log into your account before you can complete this step.)
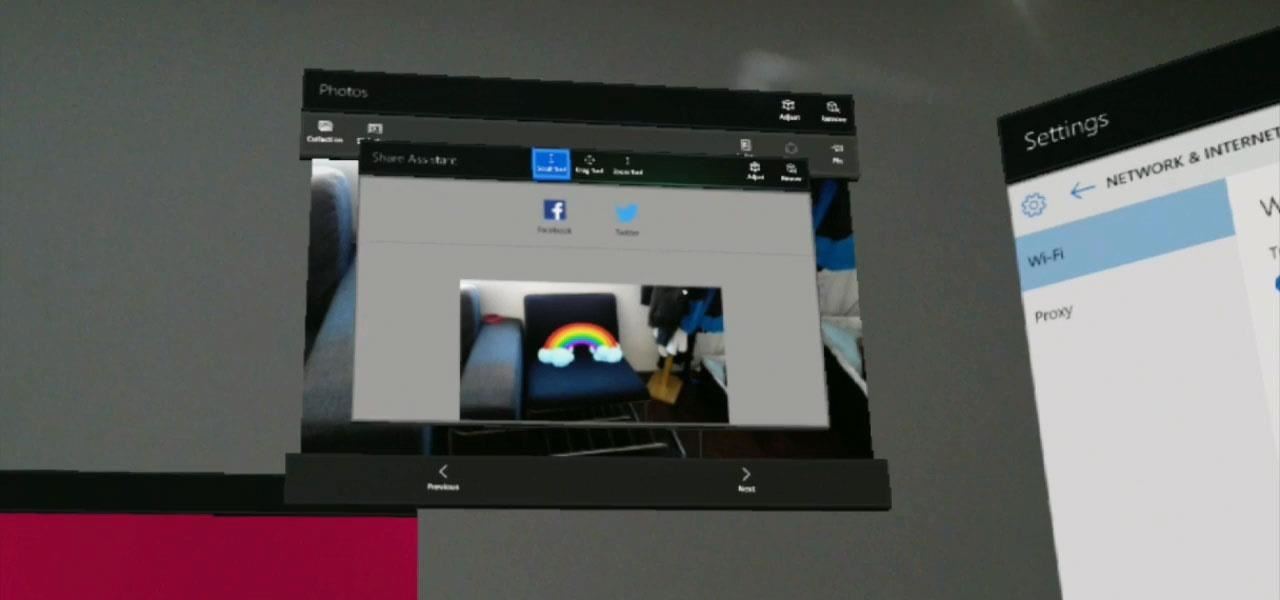
That's all there is to it. Sharing to these social networks is pretty easy with the HoloLens. Read on for the more cumbersome options.
Email (& Everywhere Else)
If you want to email your recorded media, you'll have to do a little more work. While the HoloLens lacked an email client in the beginning, you can now grab Microsoft Outlook and set up your account. Alternatively, you can just load up a webmail session in Microsoft Edge. In either situation, compose the email like you normally would and follow these somewhat familiar steps:
- Choose to attach a file. In Outlook you air tap "Insert" and then choose "Photo," but make sure you've selected the body of the email otherwise Outlook won't allow you to click that button.
- It may seem like nothing is happening immediately, but in a moment OneDrive will load and you'll have access to your files. Of course, the photo or video you captured will only show up in OneDrive once the upload process completes and that can be a bit slower than you might like—especially with videos. Make sure you wait at least 30 seconds before attempting to send a photo and a few minutes or more for videos. After waiting sufficiently, air tap Photos and then Camera roll to bring up your media.
- Find the photo or video you're looking for, air tap on it, and then air tap the Open button.
- The image or video will be attached to the message and you can send it whenever you're ready.

You can use essentially the same process for uploading media to other websites, but sharing this way isn't often the most efficient process. Getting photos and videos on your computer takes a lot less effort, and you can transfer them quickly and wirelessly through either the Windows 10 HoloLens app or the Windows Device Portal. Setting up the Developer Portal for quick downloads requires a bit of work, so follow these instructions if you want to easily access your files (and a lot more) from a web browser on any computer on your network.
Right now, those are your sharing options. Hopefully Microsoft will make it easier to email media in the future and add even more sharing services. For now, the process involves some waiting or setup, but you can move much more quickly once you get used to it.
Just updated your iPhone? You'll find new features for Podcasts, News, Books, and TV, as well as important security improvements and fresh wallpapers. Find out what's new and changed on your iPhone with the iOS 17.5 update.

















Be the First to Comment
Share Your Thoughts