
In this first part of our tutorial series on making physical objects come to life on HoloLens, we are going to set up Vuforia in Unity.
I would plan to keep a Vuforia tab open in your web browser throughout most of this tutorial, and when developing in general, since Vuforia development is tied to their website. As a result, you must have an account, a license key, and you have to use their website tools for ImageTarget database creation.
This tutorial will assume that you have gone through our HoloLens Dev 101 series and know how to set up Unity for HoloLens development as well as the build, compile and deploy processes. If you haven't and are new to this type of development, I highly recommend going through those before trying out Vuforia.
Step 1: Get a Vuforia License Key
Before we can do anything, we need to create a Vuforia account so we can use the software. It only takes a few minutes, and it's a process you have likely gone through many times on the internet before. After this is accomplished, we will create a license key and a target database.
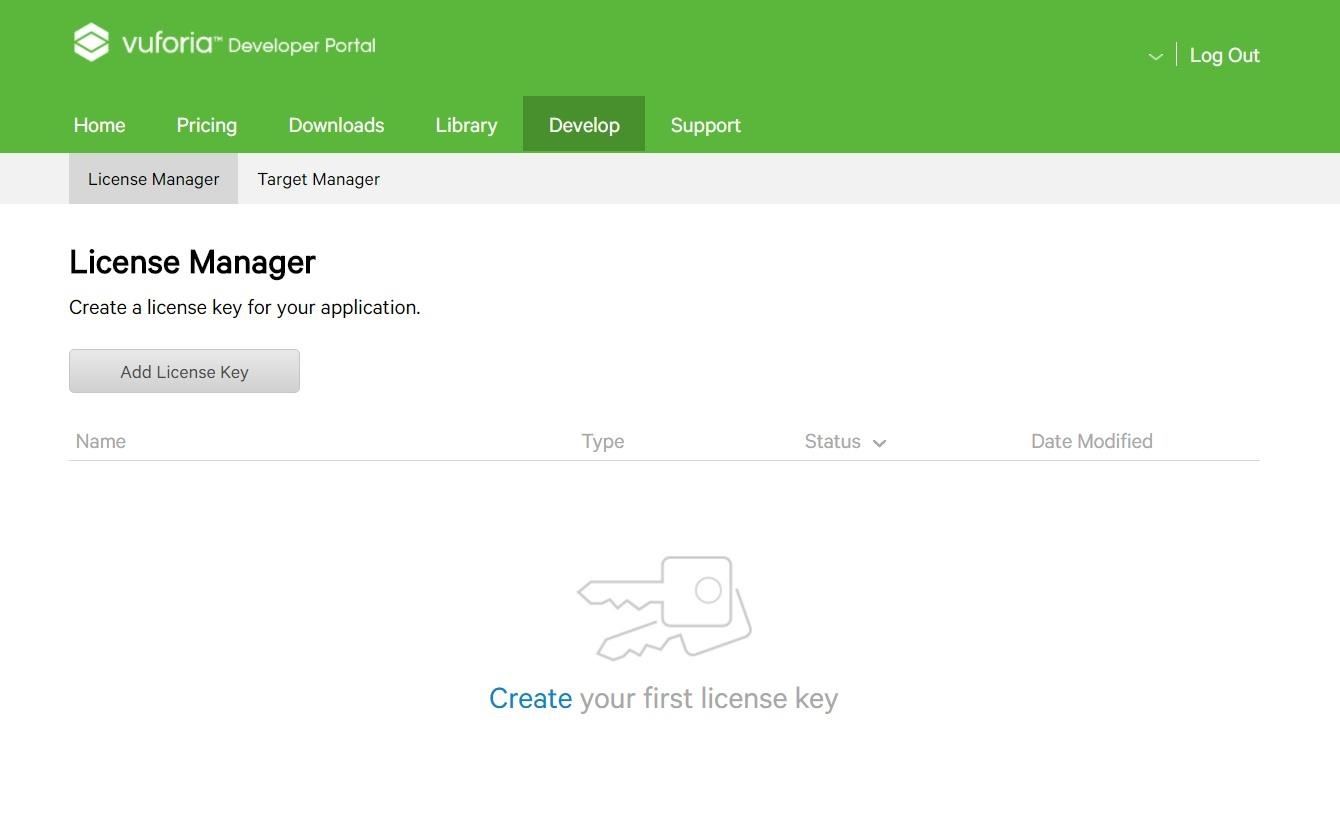
Head to the Vuforia Developer Portal and sign up for a new account, assuming you do not already have one. With your fresh new account, go to the "License Manager" under the Develop tab, and select the "Add License Key" button.
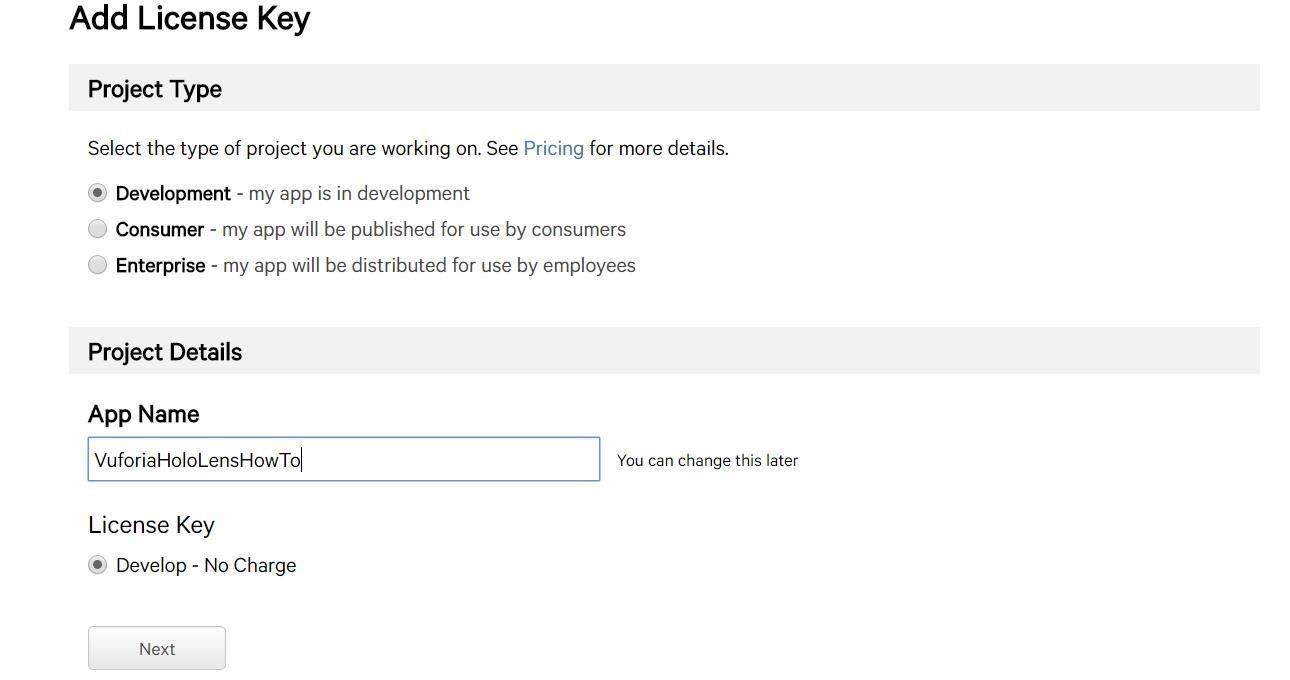
In the Add License Key window, make sure Development is the project type selected, name your app in the App Name field and hit the "Next" button. On the next page, click on the box to confirm you agree to Vuforia's conditions, and then click "Confirm" to finish up.
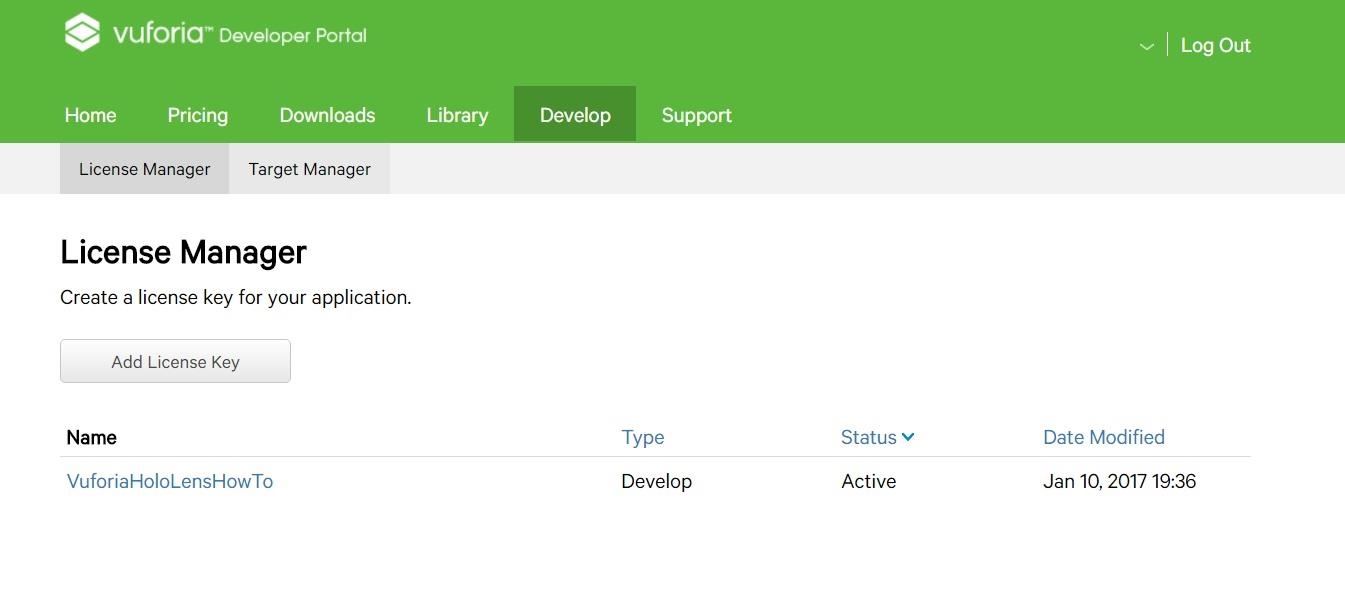
You now have a license key, which you will need later.
Step 2: Install Vuforia
First up, create a new Unity project, assuming you haven't already. We will then install Vuforia and configure it. Fortunately, Vuforia recently released a free package to the Asset store which makes this part much easier.
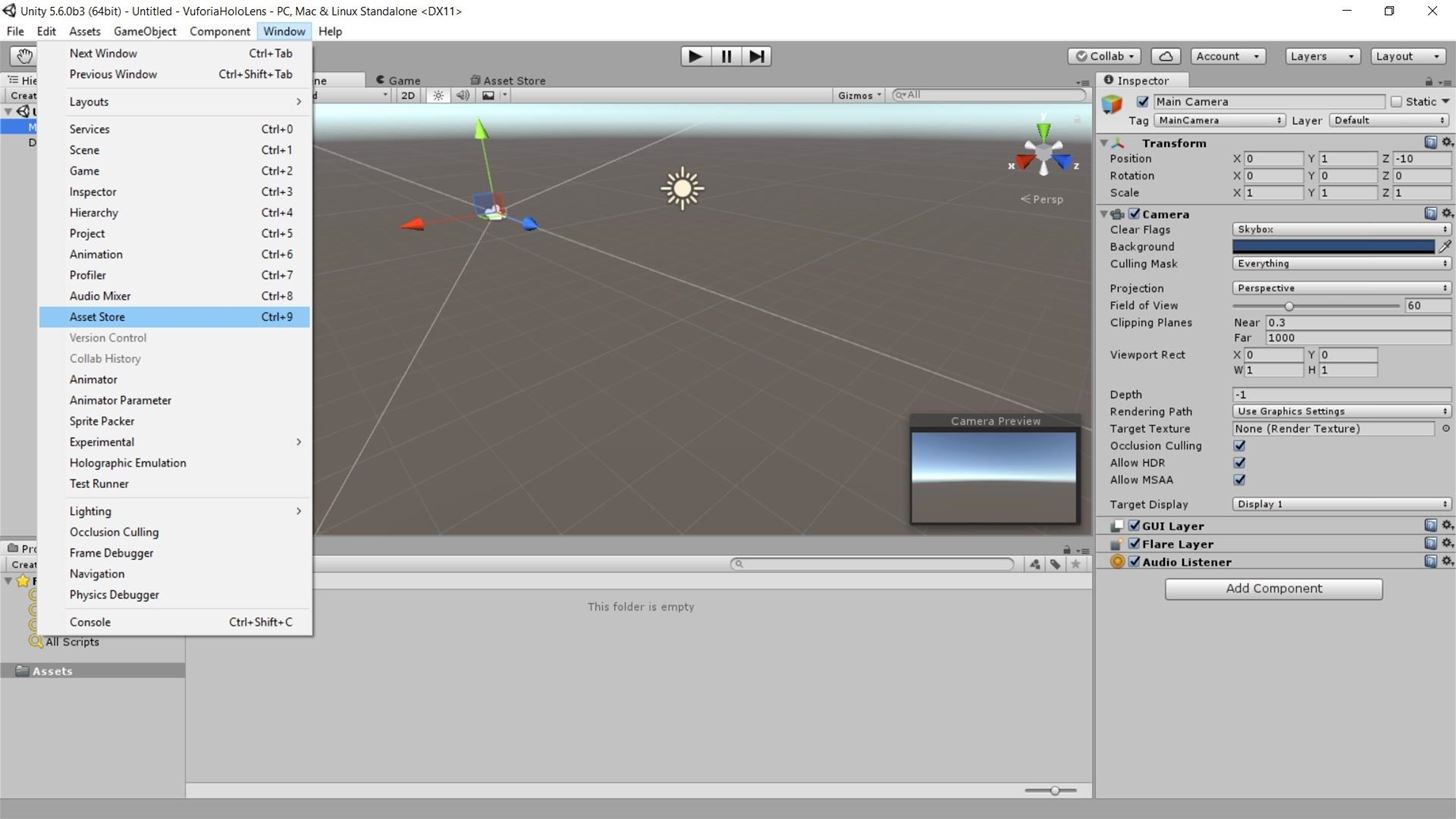
In your Unity project, go to the Window menu up top and open the Asset Store.
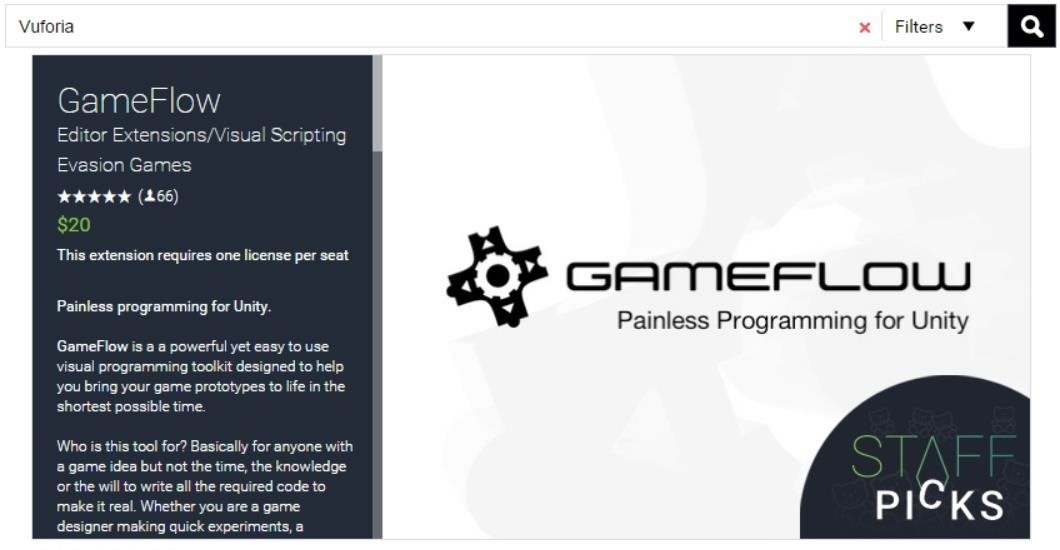
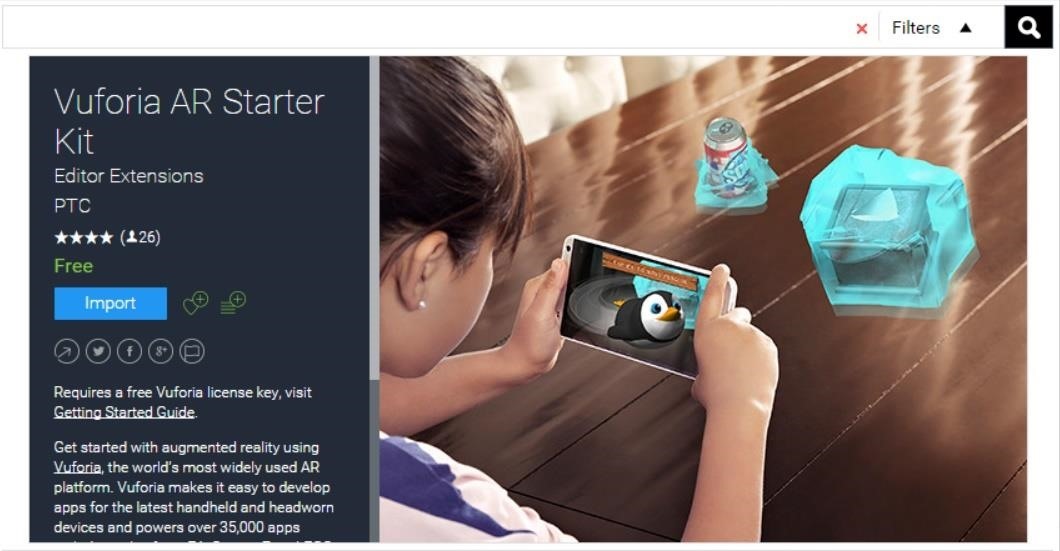
Now search for "Vuforia" in the Asset Store.
If you have never downloaded Vuforia before, click on the button that says "Download." If you have downloaded it before, like me, the button will say "Import" instead.
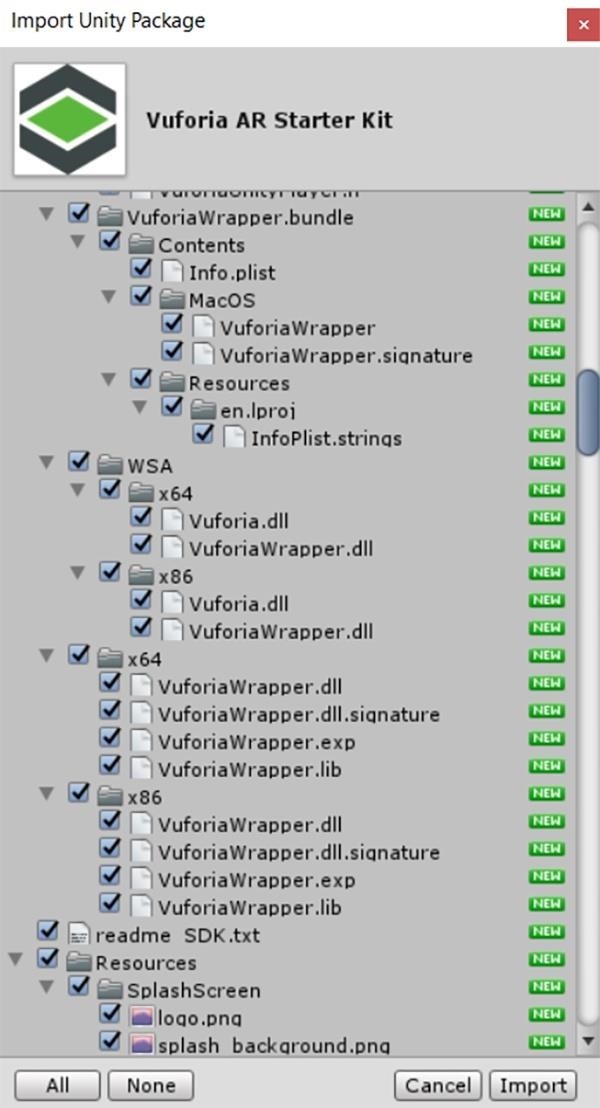
The Import Unity Package window will appear. Leave everything as is and hit the "Import" button.
Step 3: Configure Unity to Use Vuforia
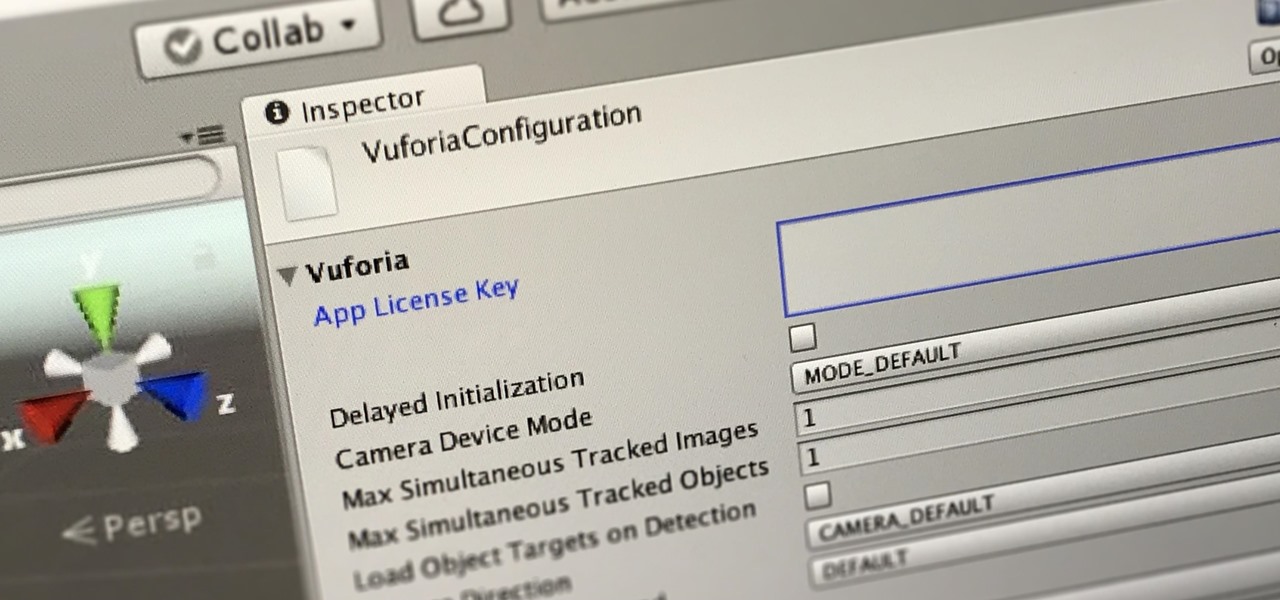
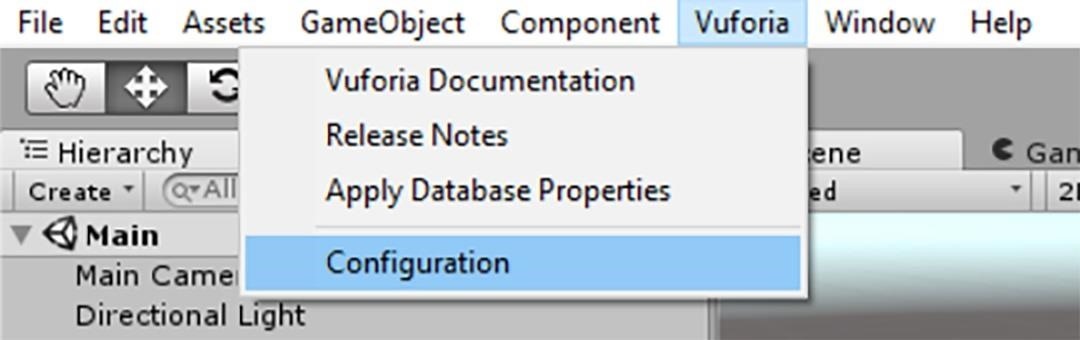
Now we need to get our license key ready so we can get Unity set up. In the main menu up top, you should now see an option for Vuforia. Select it, then hit "Configuration."
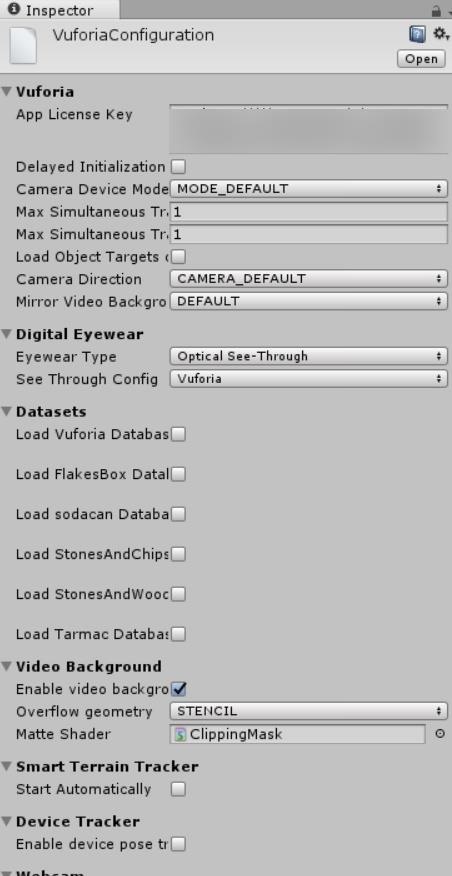
This will open a window in the Inspector where you will need to put your license key, as you can see below in the blurred out area.
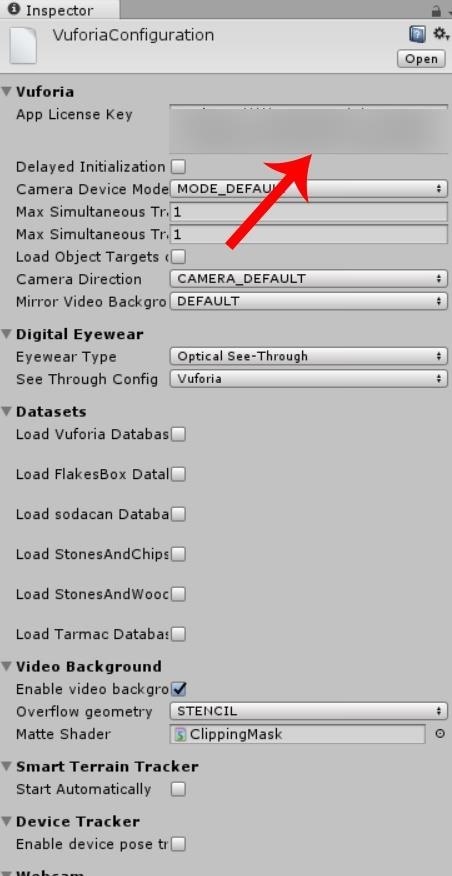
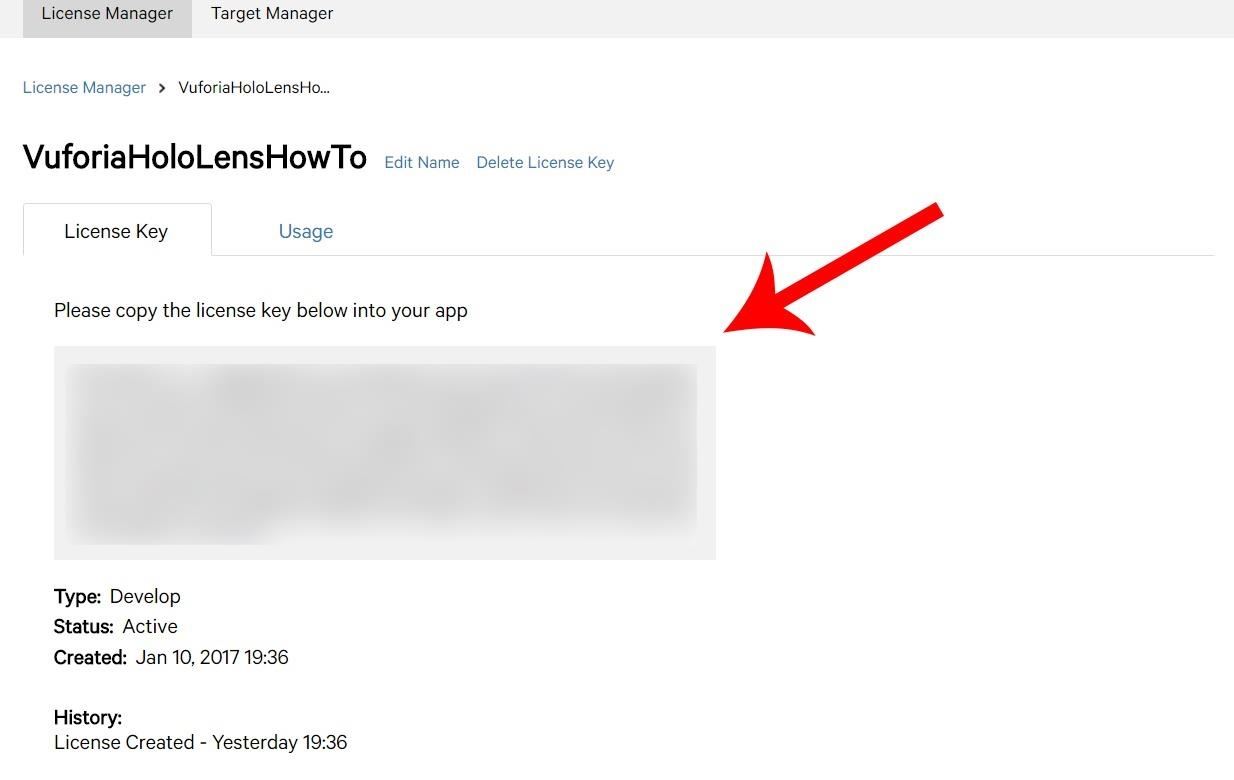
Pull the Vuforia website back up, go to the "License Manager" again, then select your app's name that you created in Step 1. On the page License Key page, a large block of seemingly randomly generated letters, numbers, and symbols will appear—select it, copy it to your clipboard, then paste your key in the correct spot in the Inspector window in Unity.
Still in the Configuration window in the Inspector, under the Digital Eyewear heading, select "Optical See-Through" from the dropdown as the Eyewear Type.
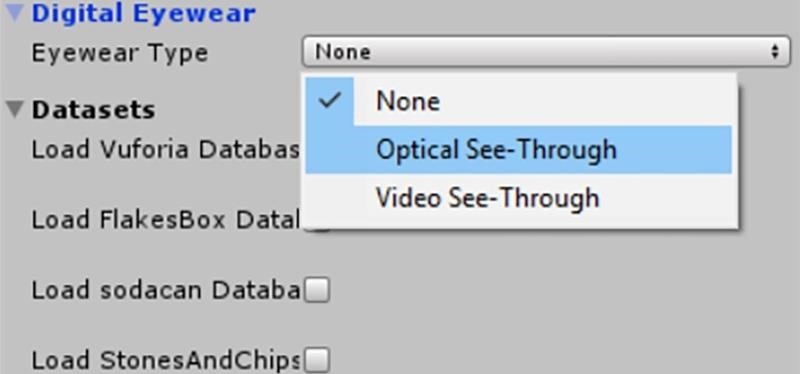
The See Through Config option will appear, and you'll select "HoloLens" from that dropdown.

And that's all there is to installing and configuring Vuforia in Unity. In the next tutorial, we will build, install, and load our ImageTarget database. Then, we will link the Vuforia ARCamera to our HoloLens camera.
Just updated your iPhone? You'll find new emoji, enhanced security, podcast transcripts, Apple Cash virtual numbers, and other useful features. There are even new additions hidden within Safari. Find out what's new and changed on your iPhone with the iOS 17.4 update.


Be the First to Comment
Share Your Thoughts