

In this first part of my series on getting started with Windows Holographic, we are going to cover everything you need to get set up for developing HoloLens apps. There are many pieces coming together to make one single application, but once you get used to them all, you won't even notice. Now there are different approaches you can take to make applications for HoloLens, but this way is simply the fastest.
You will need a HoloLens, of course, and a PC with Windows 10 installed — all HoloLens development requires Windows 10. You will also need a Microsoft account as well as a Unity account. (You can also create the Unity one later, as seen in Step 5 below.)
Step 1: Download Software
Once you're ready with your gear and accounts, it's time to start downloading. I highly recommend downloading these to your desktop for quick and easy access.
Step 2: Install Unity
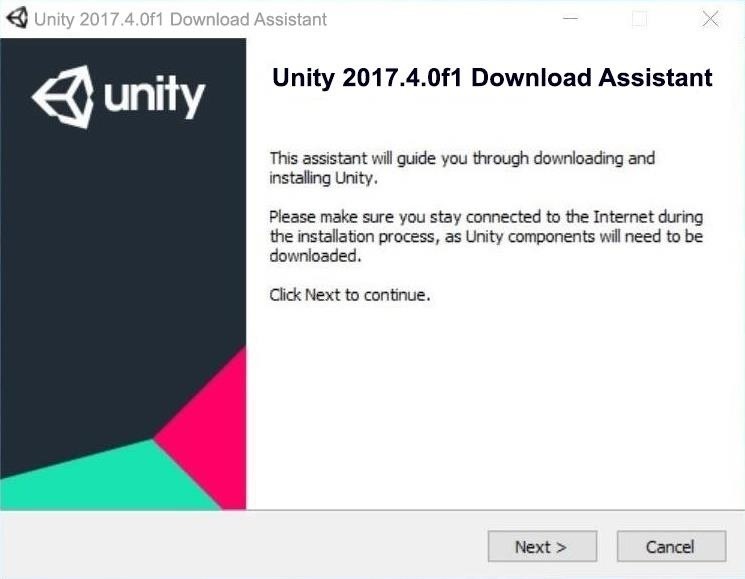
Double-click on the "Unity Download Assistant" icon that downloaded onto your desktop. When the window comes up, click on the "Next" button.
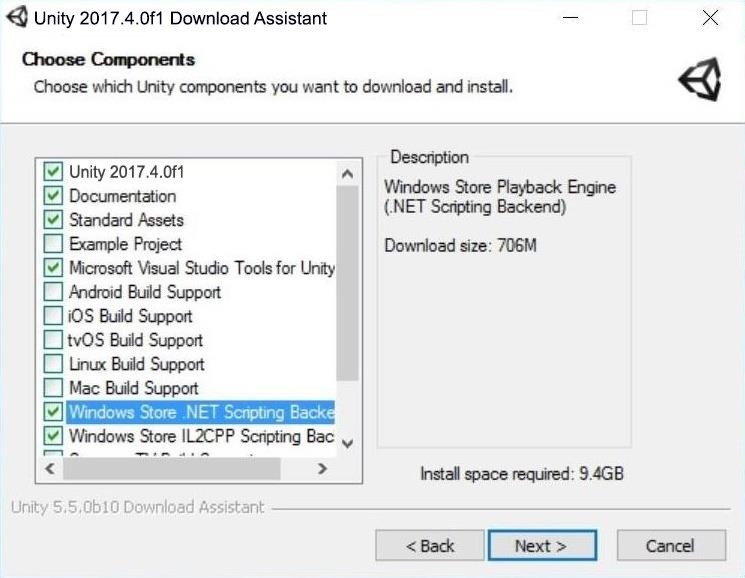
After reading (haha), agree to the license agreement, then choose 64-bit as the version to install. This will bring you to the Choose Components screen. Here we need to add a few parts that are not standard install:
- Windows Store .NET Scripting Backend
- Windows Store IL2CPP Scripting Backend
Once these are selected, hit the"Next" button to continue, then hit it one more time to start the installation, which may take some time to finish.
Step 3: Install Visual Studio Community 2017
Double-click on the "vs_community" file that was downloaded onto your desktop. Once you get through the agreements, you should see the window below appear. Here, we need to make sure a few things are selected under Universal Windows App Development Tools. See the below screenshot for reference as to what needs to be checked.
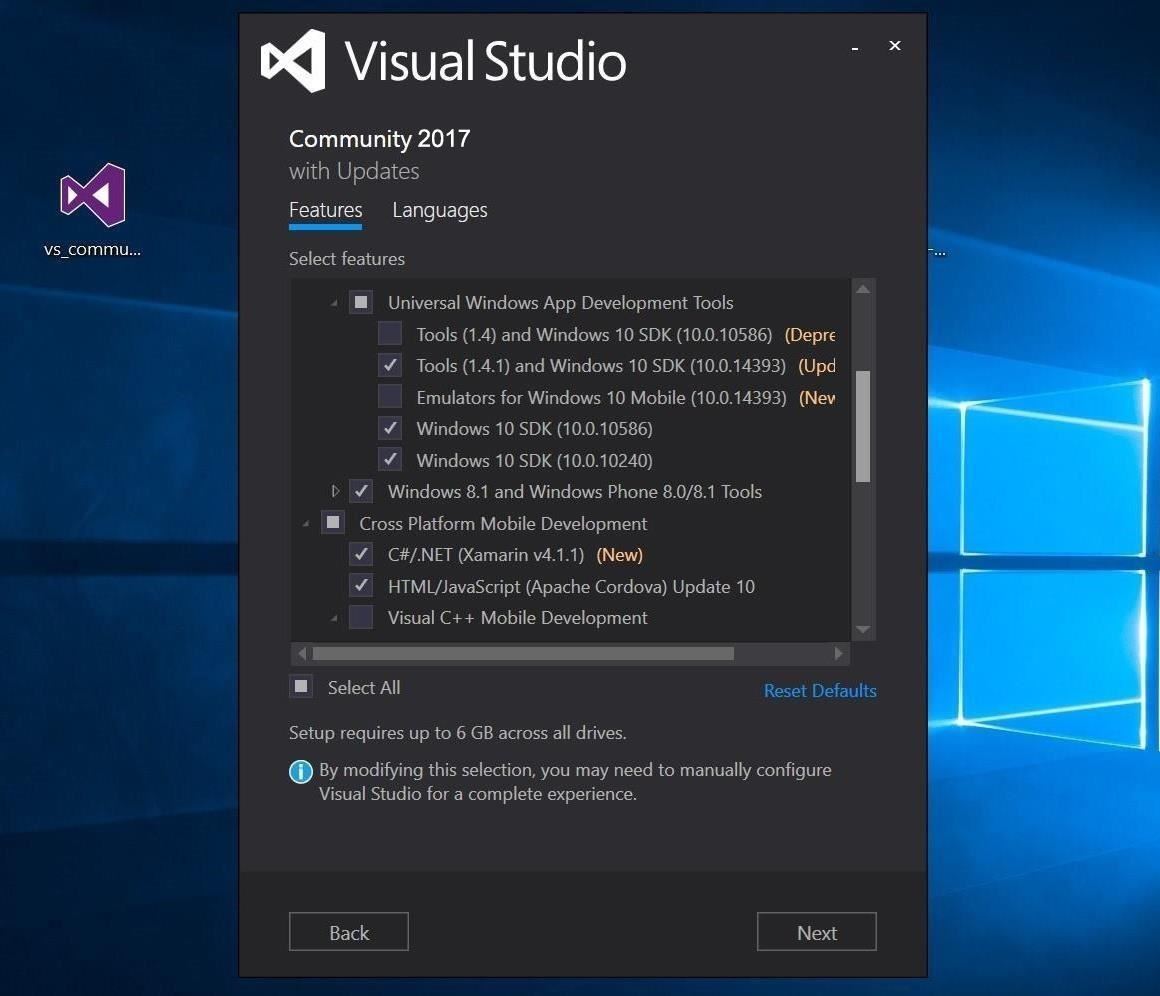
Once you've selected them, hit the "Next" button and let 'er rip. Like the Unity install, this can take a good long while, so go feed the cat or yourself or maybe go take a quick jog, then come back.
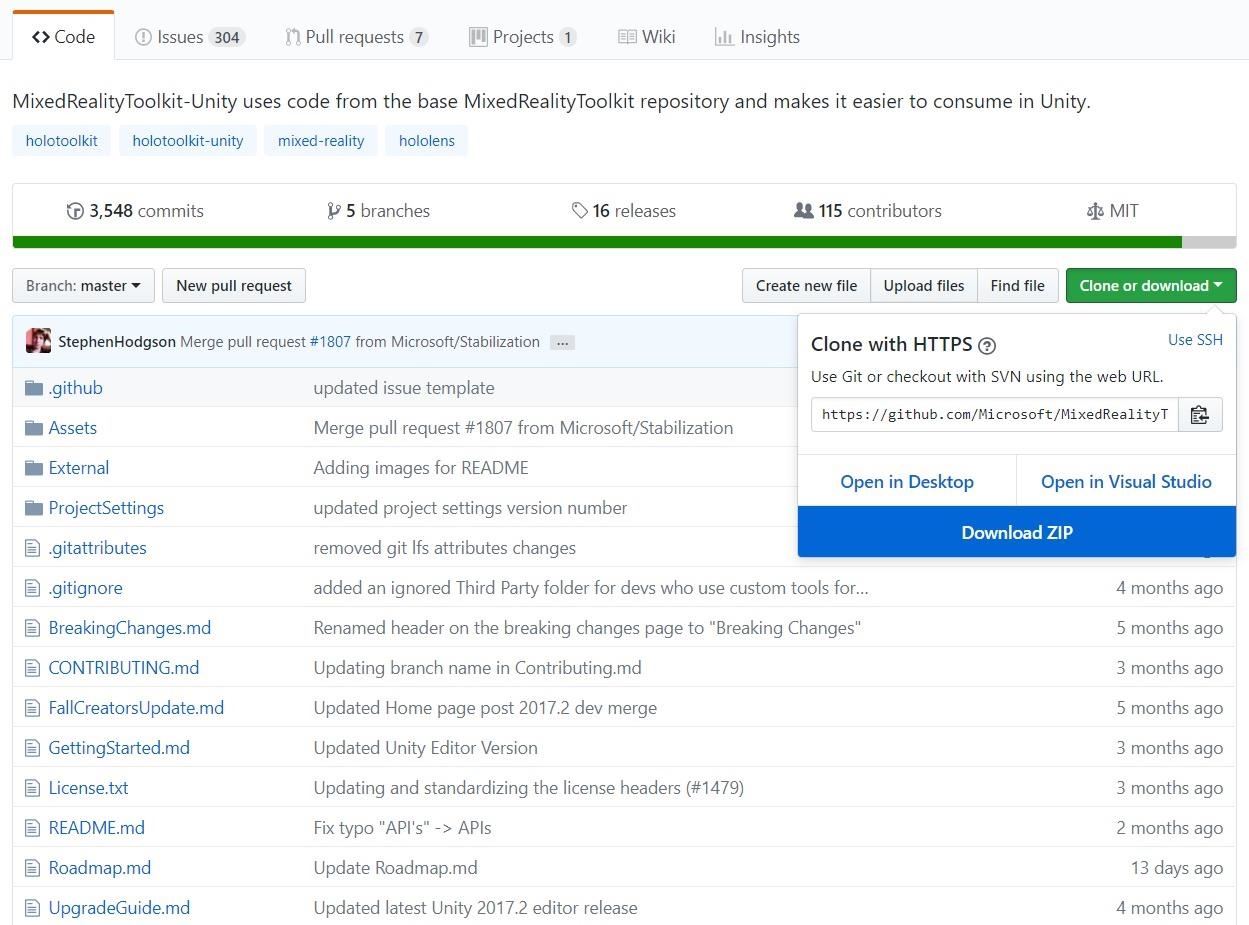
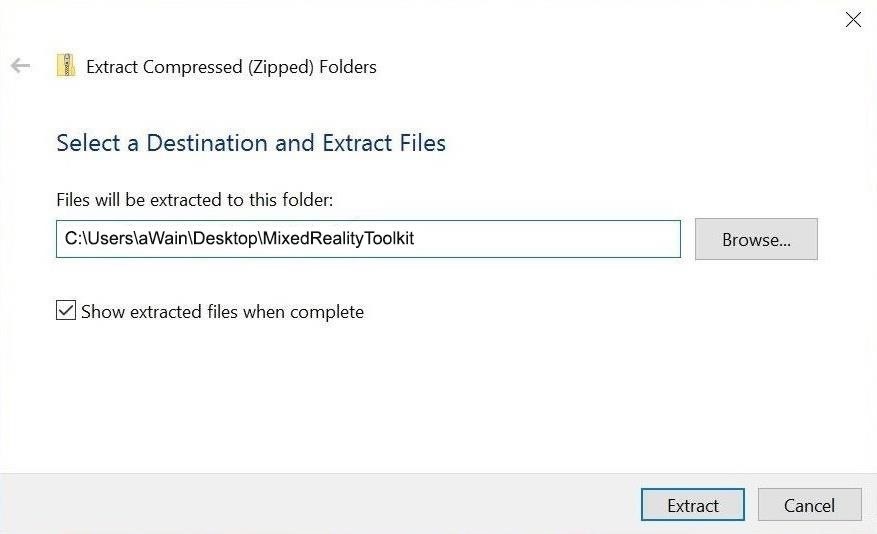
Step 4: Unzip MixedRealityToolkit-Unity to a Folder on the Desktop
The MixedRealityToolkit (formerly called HoloToolkit) does not need to be installed like an application because this is something that will be imported into each new project. We will extract this .zip file to a folder and leave it on the desktop for easy access later.
Right-click on the MixedRealityToolkit-Unity .zip file, and hit the "Extract All" option. When the window below appears, rename the folder MixedRealityToolkit, and hit "Extract."
Step 5: Run Unity, Create an Account & Get Logged In
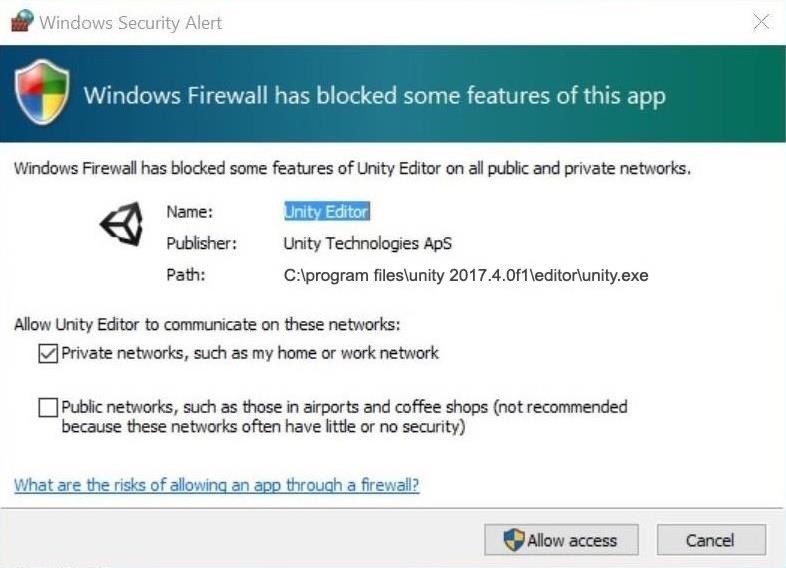
Double-click on your Unity icon to open it. After a quick start screen, a Windows Security Alert dialog will pop up. Make your choices based on how you have your networks set up at home. In order to connect to the HoloLens via Wi-Fi, the private network option will be the minimum required.
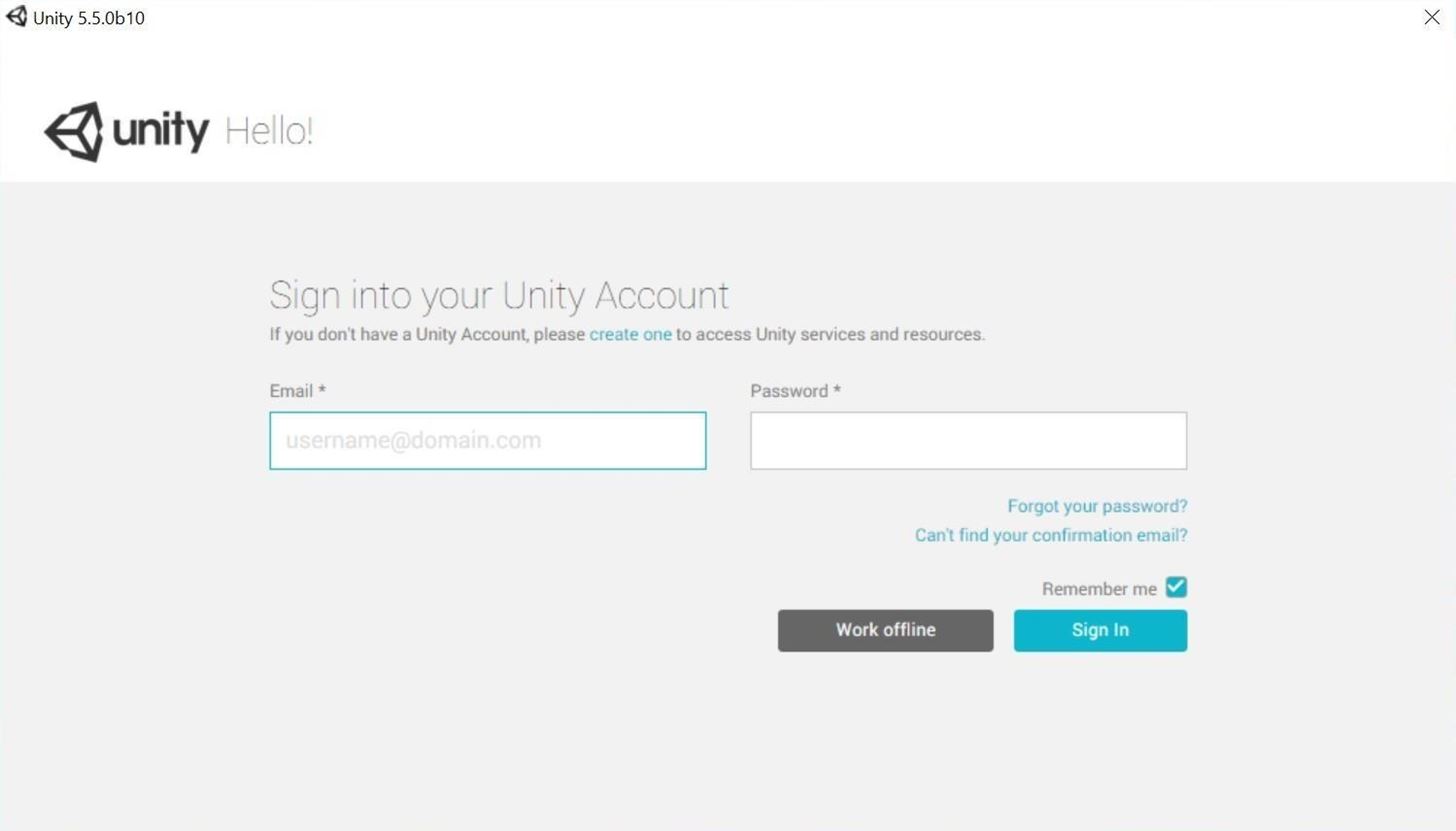
Next up, you should see the Unity Account sign-in window. If you have an account, you should fill in your credentials here. If you do not, click on the "create one" link.
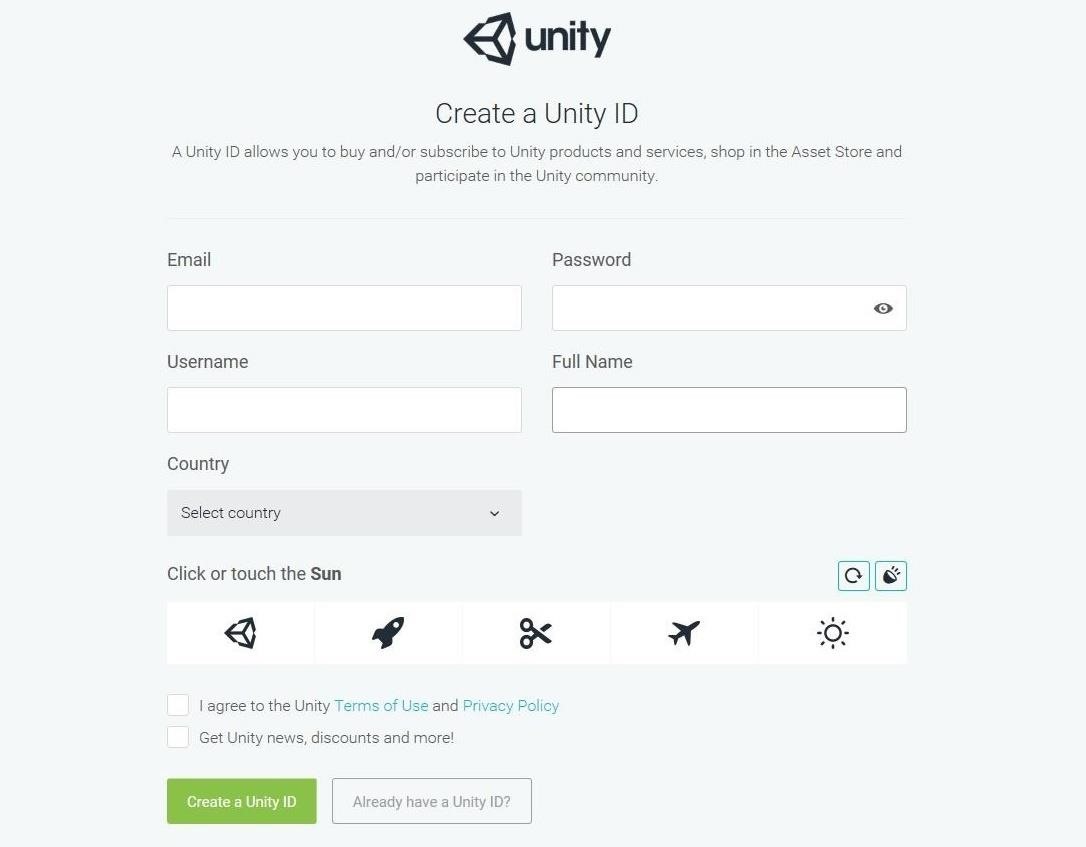
If you chose to create one, a browser window will appear. Create a Unity ID and going through the confirmation process to access it.
When you're logged on, you should see the Projects select screen. Here we can start new projects or reload previous ones.
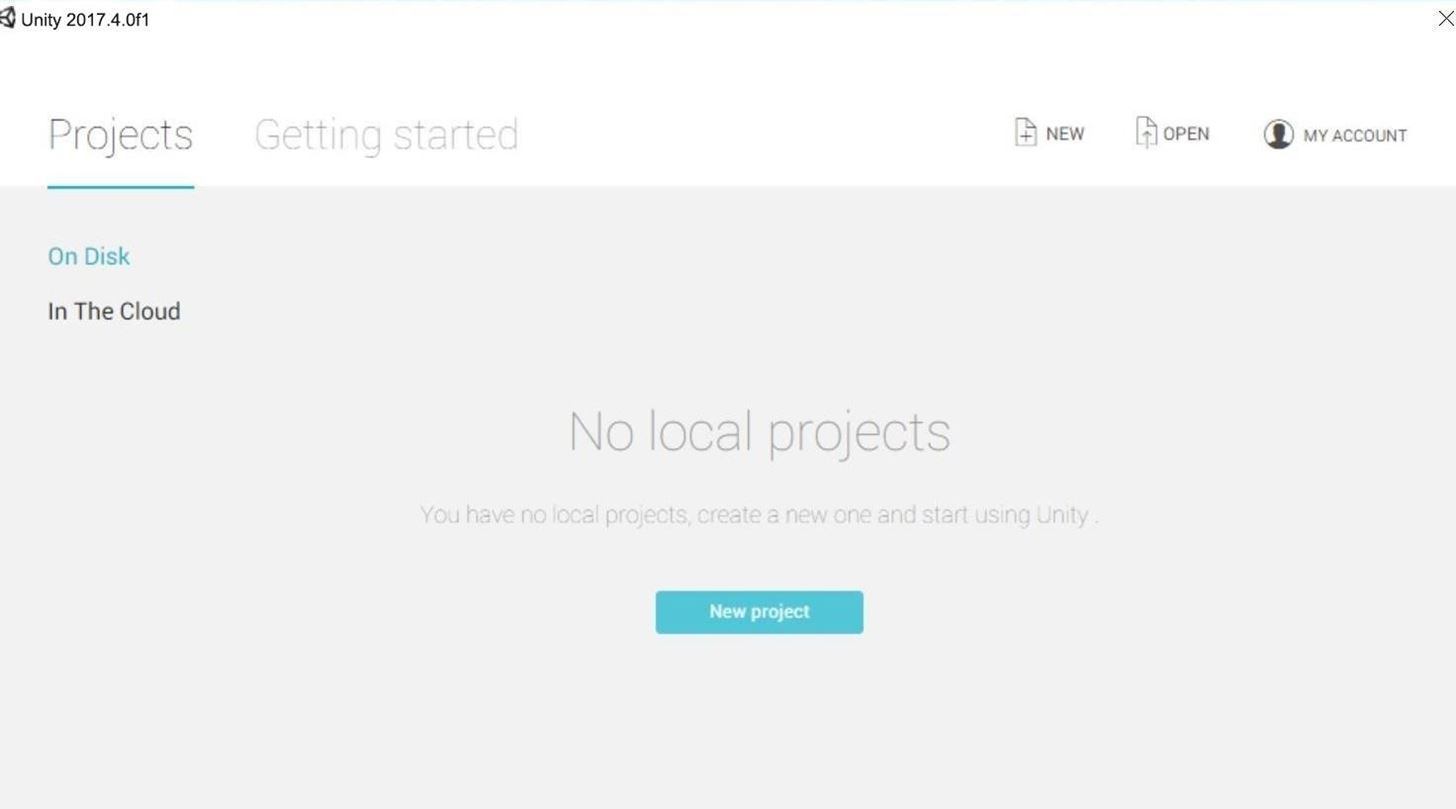
Now let's move on to Visual Studio.
Step 6: Run Visual Studio & Sign In
Click on the "Microsoft Visual Studio Community" icon in the Start menu, then sign in at the prompt.
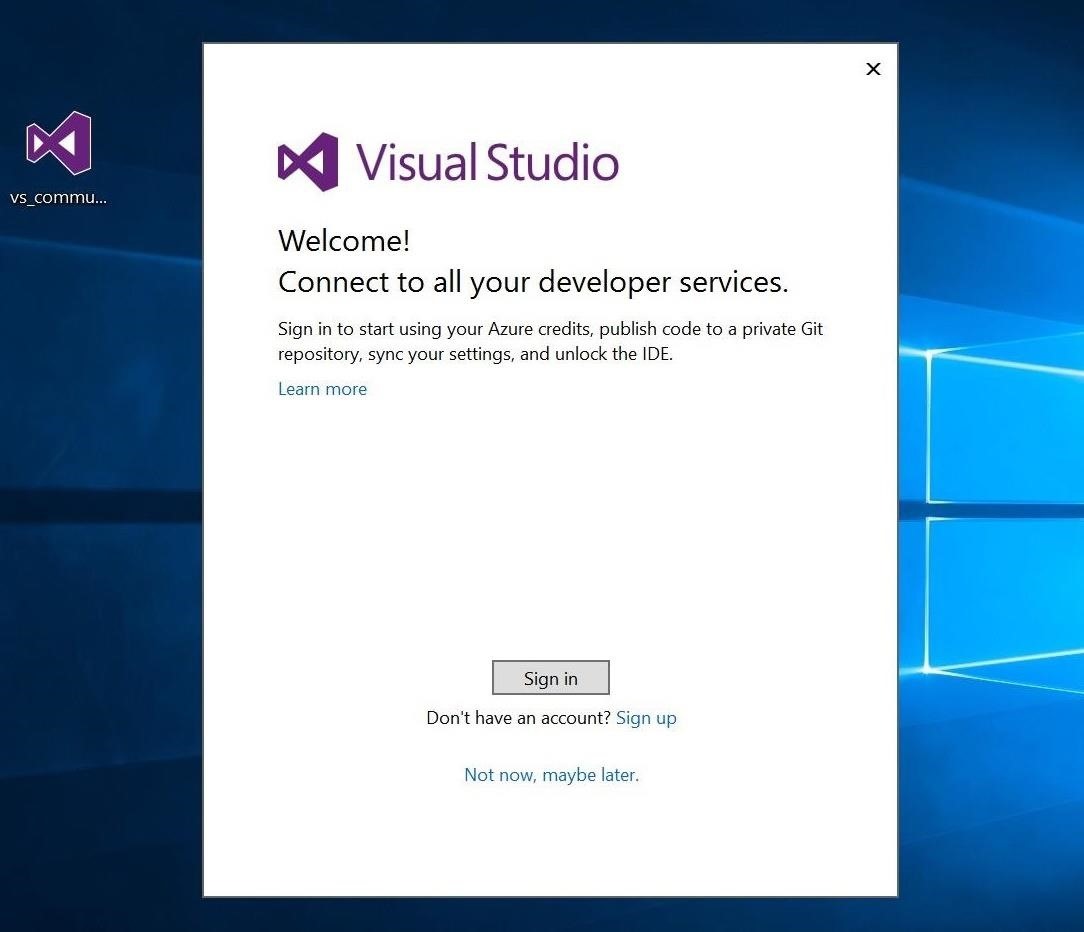
If you are using Windows 10, as you should be, you likely already have a Microsoft account. Use those credentials to sign in.
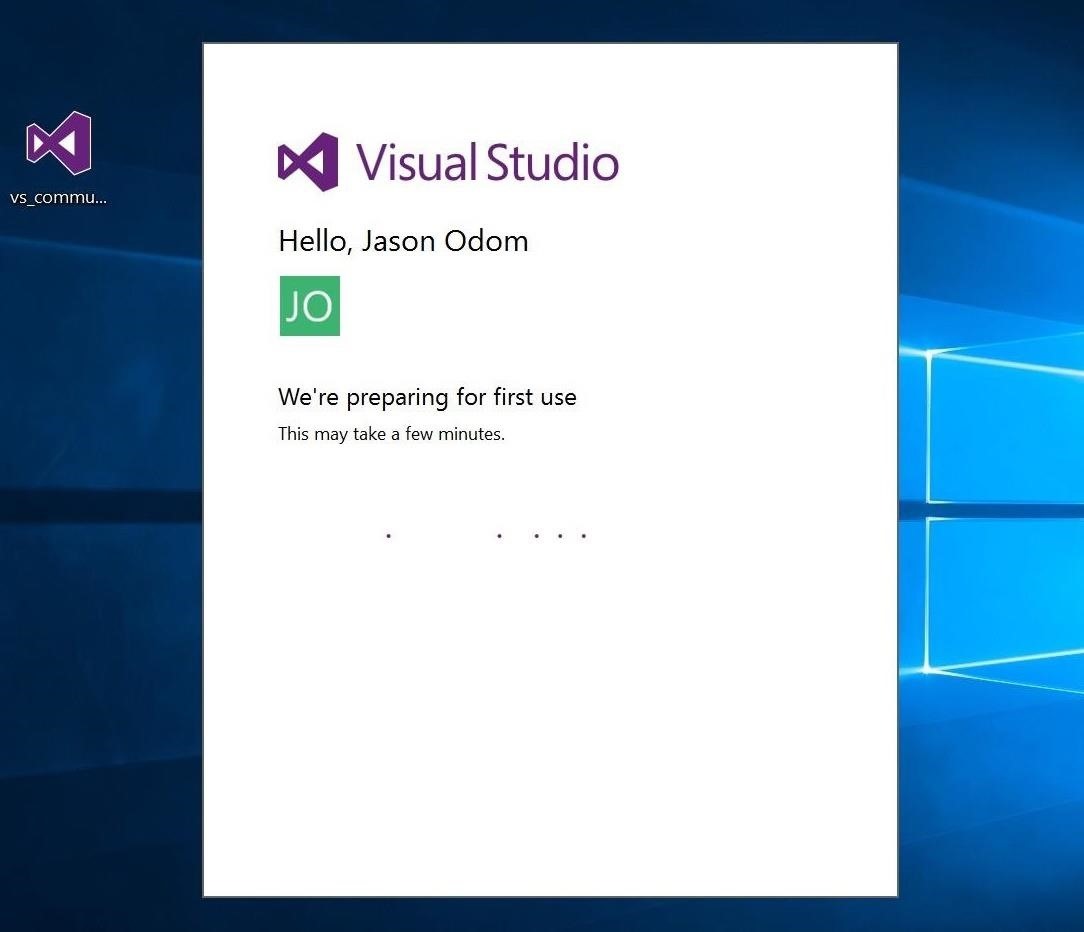
And now you've done it. Congratulations! The setup and installation steps are now finished.
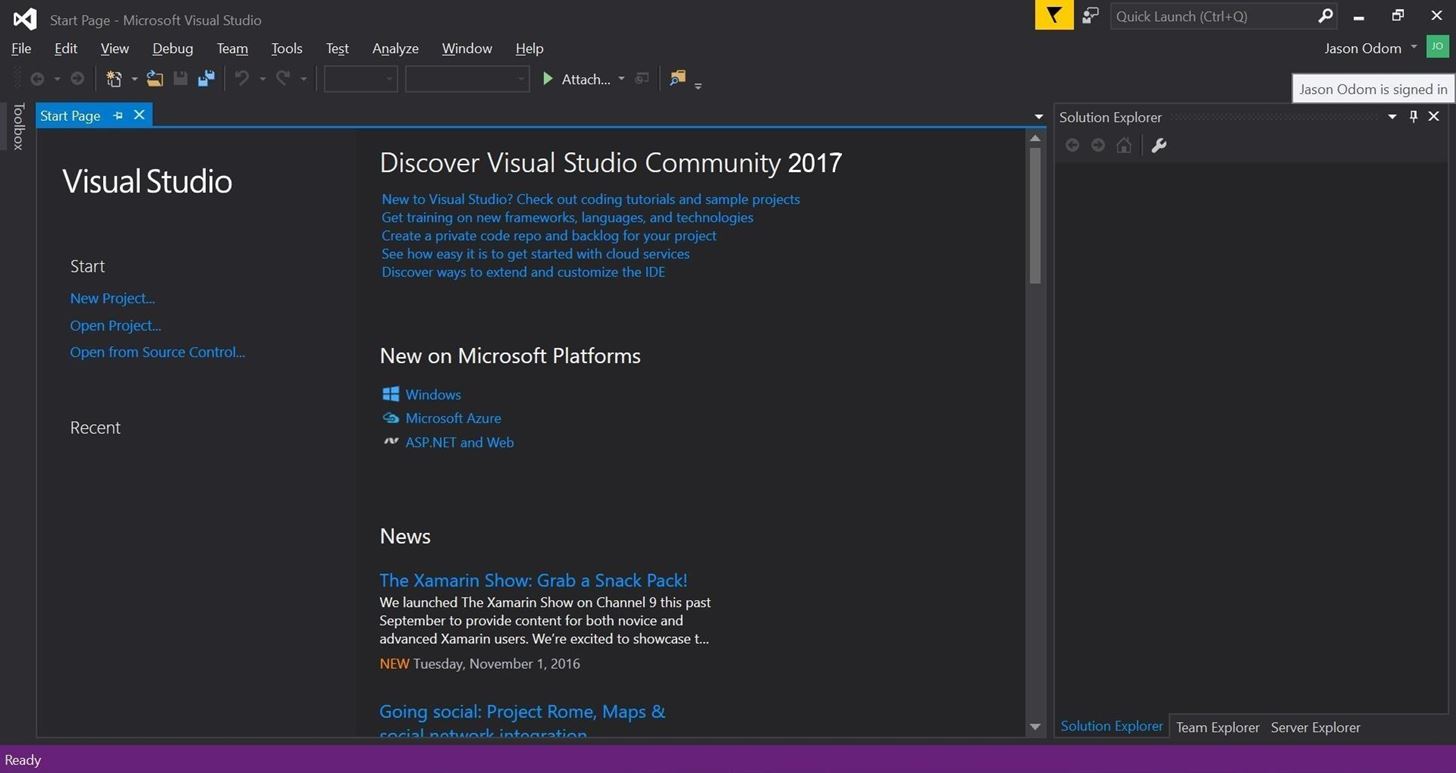
All the grunt work is out of the way, and we can move onto building apps for HoloLens. Stay tuned for future parts in this series that'll cover getting the HoloLens emulator set up, as well as building your very first HoloLens application.
Just updated your iPhone? You'll find new emoji, enhanced security, podcast transcripts, Apple Cash virtual numbers, and other useful features. There are even new additions hidden within Safari. Find out what's new and changed on your iPhone with the iOS 17.4 update.


Be the First to Comment
Share Your Thoughts